WordPress has a built-in method of debugging that works great for developers. It offers a warning message detailing what file is at fault and what line to look at. However, this often looks terrible from a visitor perspective. It’s a WordPress error message that can easily dissuade people from coming back.
In this tutorial, I’m going to show you how to disable the warning message in WordPress when it comes to debugging. It’s a simple bit of code you can copy and paste into your website.
What Causes these PHP Error Messages?
A lot of the time, line warnings in PHP files happen because of outdated plugins or themes. This is because core files will often change with WordPress updates, which makes some parts of code obsolete.
Themes and plugins can also throw PHP warning messages when used with something that is incompatible. It’s possible for two current plugins which work well by themselves to have issues when paired together. This is because every developer is different, and not everyone uses the same syntax when developing website files.
Luckily, these warnings don’t necessarily mean the site is broken. They just look ugly to an unsuspecting visitor. Sometimes the developer will create an update to fix the warning, but it’s not always quick.
PHP warnings in WordPress look something like this:
“/wp-content/plugins/siteplugin.php on line 30”
This doesn’t mean the plugin is bad. It just means part of the file is incompatible with WordPress, the theme or another plugin that is in use.
Unless you plan on fixing the coding yourself, it’s probably better to simply disable the warning messages altogether. If the tool isn’t completely broken or unusable, then the warning may not completely apply to you.
Hiding the WordPress PHP Warnings
This next part involves editing the wp-config.php file of WordPress.
I strongly suggest you create a backup of your site before making any coding changes. This will protect you in the event something goes wrong by giving you a quick method to restore the site.
You have several methods available for accessing the wp-config.php file of WordPress. A lot of people like using FTP applications like FileZilla to access website resources.
For this tutorial, I’m simply going to use the File Manager in cPanel.
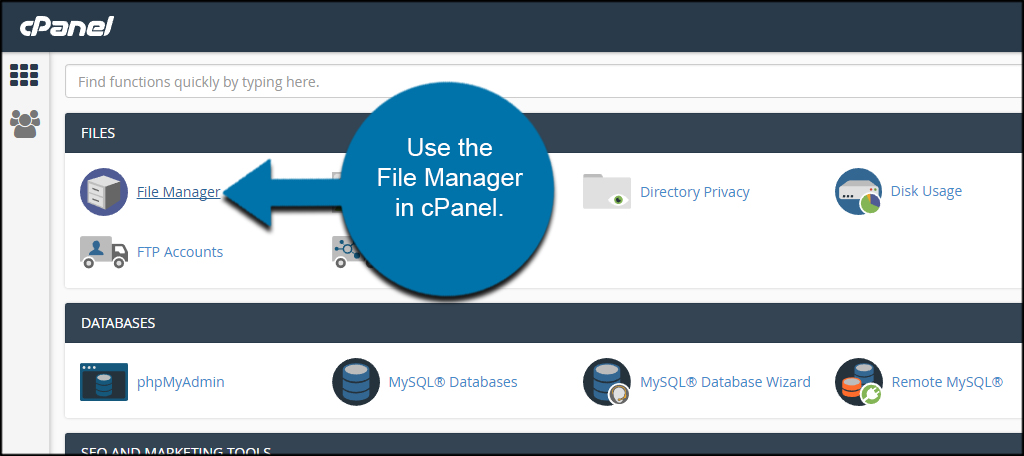
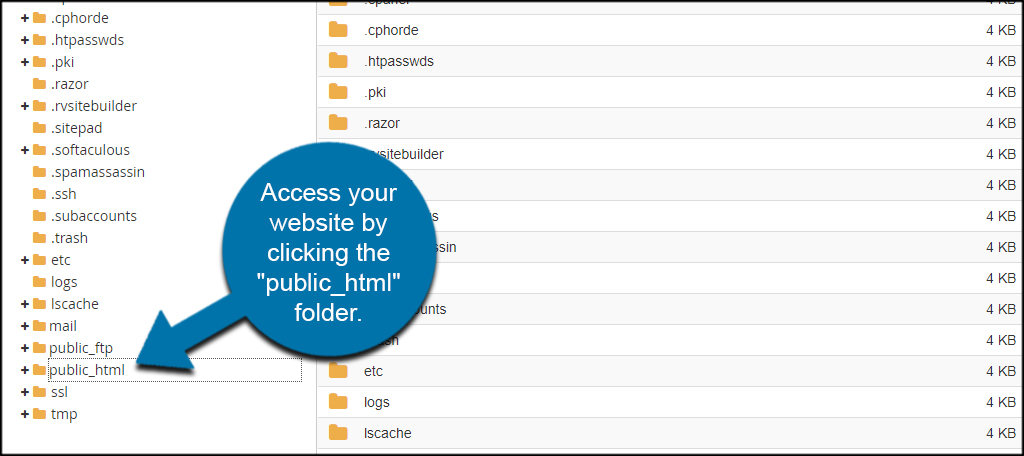
Access your website by clicking the “public_html” folder in the directory.
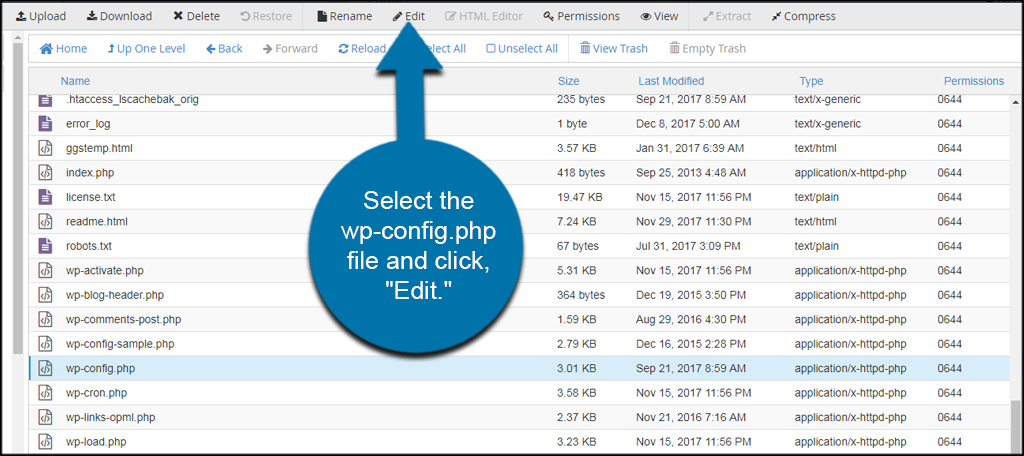
Select the wp-config.php file and click, “Edit.” It’s located in the top tool bar of File Manager.
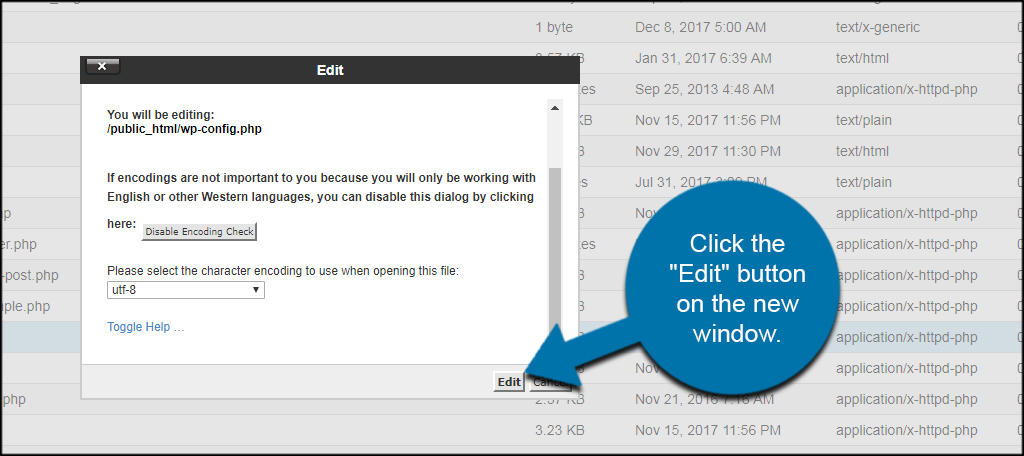
Click the “Edit” button on the new window. This is just a message allowing you to change the character encoding of the editor. You will not need to make any changes to this section.
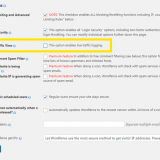
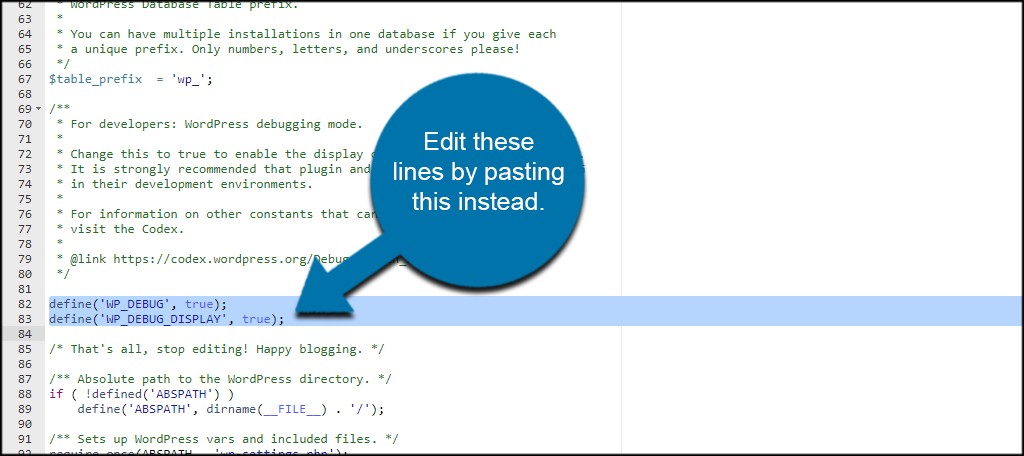
Scroll down and find the line that has this code:
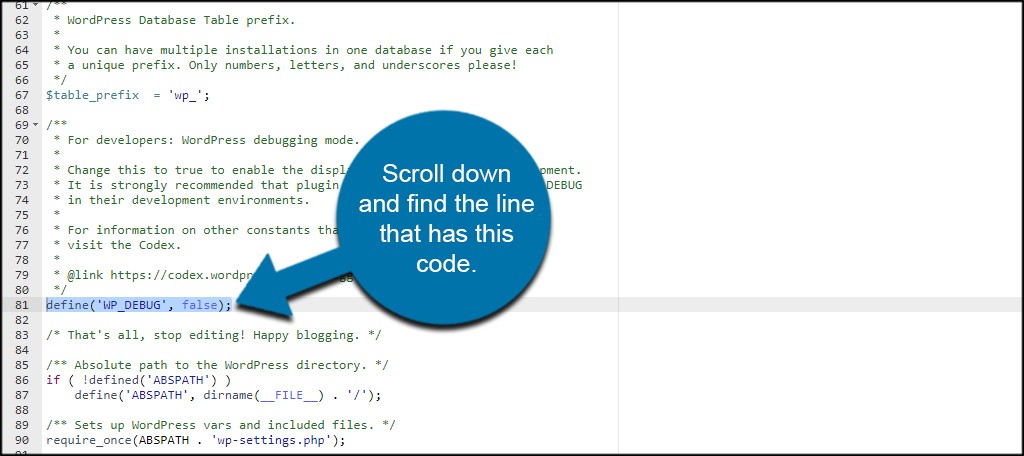
You may see “true” instead of false. Either way, you’re looking for the “WP_DEBUG” portion of the wp-config.php file.
Replace the line with the following code:

Click the “Save Changes” button in the top right.
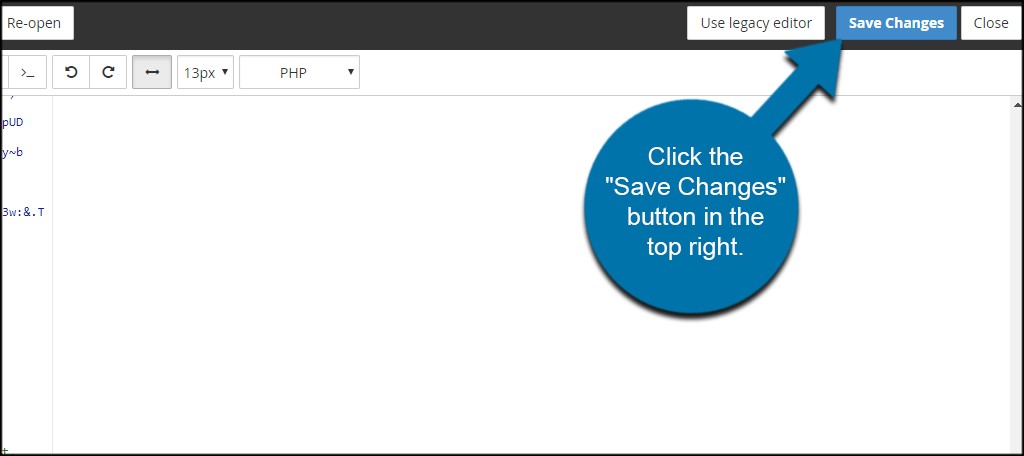
Once the file is saved, this will disable the PHP warnings in WordPress.
Enabling Warning Messages
If you want to re-enable the PHP warning messages, edit these lines by pasting this instead:
Customizing Your Website
Hiding WordPress warnings is only one piece of a massive customization puzzle within WordPress. With a simple copy-and-paste code, you can make a variety of changes without having previous experience in website development. Just make sure you’re copying good snippets of code. Something that is obsolete or improperly created could easily crash a website.
How often do you edit coding in your WordPress site? Where is your favorite place to go for code snippets?